

Introduction
WAX stands for the Worldwide Asset eXchange, a blockchain built around trading virtual items called NFTs. WAX is more than just an NFT marketplace – it also hosts Distributed Applications (dApps) and Decentralised Finance (DeFi), all of which integrate into a self-contained economy. In order to interact with this blockchain, you will need a wallet.
A blockchain wallet is a personal holdings of assets you have on supported blockchains. A regular wallet is held on a local server and entirely managed by the user.
In contrast, a Wax Cloud Wallet is hosted and managed by WAX on a central server which the user can remotely access via web browser. It is also the easiest way to set up, use, and manage an account on the WAX blockchain without the complexities of a ‘regular’ WAX wallet. All you need to get started is a social media account or email address, and you can be up and running in seconds.
With a WAX Cloud Wallet, you can purchase WAX’s native currency, WAX Protocol Tokens (WAXP), which can be used to acquire NFTs. WAX token holders can also earn additional WAXP rewards by contributing their WAX Protocol Tokens to Delegated Proof of Stake (DPoS), the process the WAX blockchain uses to verify its ledger.
WAX has also made it simple for developers to integrate the WAX Cloud Wallet into their dApps, many of which are now available directly from the platform.
If you’re interested in stepping into the NFT market, or in the rewards available through DPoS, then the WAX Cloud Wallet is the ideal starting point.
WAX Accounts and Wallets: An Overview
WAX Account
- A readable name hosted on the blockchain
- Protected with two security keys
- Required for all blockchain interactions
- Can be privately managed
A WAX account is a readable name on the WAX blockchain safeguarded by two security keys: a private key (for encryption) and a public key (for verification). An account is required to perform any actions on the blockchain. When setting up a WAX Cloud Wallet, an associated account will also be created and managed for you automatically. For more advanced users, you can set up your own account on a private server. This affords the user much more direct control than the WAX Cloud Wallet account but requires a strong working knowledge of the EOS blockchain protocols on which WAX is based.
WAX Wallet
- Used to store and transfer assets on the blockchain
- Exists independently from the blockchain
- Stores in the form of security keys
A WAX Wallet is a device, application, or service which enables the user to safely receive, hold, and / or send multiple assets from any other account on the WAX blockchain. Unlike a WAX account, a WAX Wallet exists independently from the blockchain and essentially operates as a storage point for associated security keys.
WAX Cloud Wallet
- Hosted by WAX
- Easy to manage
- No private control of security keys
A WAX Cloud Wallet is a highly streamlined variant of the WAX Wallet. Instead of hosting your own wallet on a private server, the WAX Cloud Wallet is hosted by WAX. WAX also manages all security keys associated with the account and wallet for optimal user experience. This makes a WAX Cloud Wallet a great starting point for users unfamiliar with blockchain and / or WAX.
Getting Started
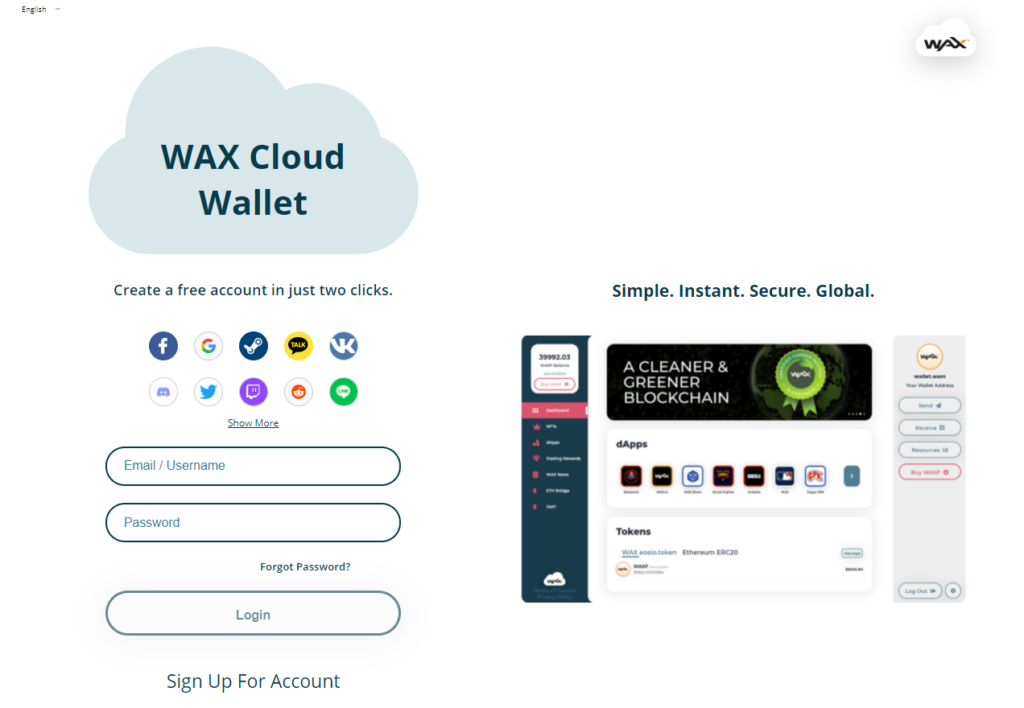
To begin setting up your WAX Cloud Wallet, head to the WAX Cloud Wallet homepage and choose which social media account or email address you’d like to sign up with. Currently available options include Facebook, Google, Steam, Kakao, VK, Discord, Twitter, Twitch, Reddit, and LINE.
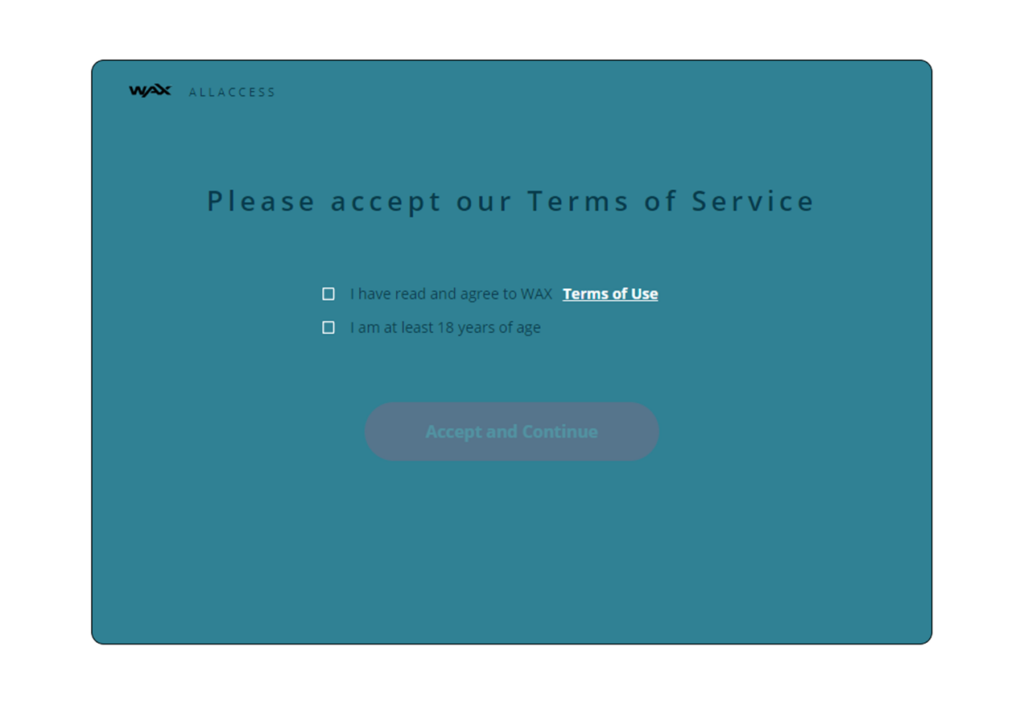
Simply accept the terms of service, and if you signed up with an email address then check your inbox for the verification email. A randomly assigned WAX Account Name (e.g. abcd.wam) will then be automatically created for your account. This is the information you’ll need to share in order to receive WAXP or NFTs. WAM is short for ‘WAX Account Management’, reflecting how the WAX Cloud Wallet is run (the private keys for your WAX Cloud Wallet are managed by WAX). You can also connect your account to a hardware wallet, which gives you the option to hold and manage your own private keys instead.
With your account now live, you can see the WAX interface. From this dashboard, you can navigate to several sections:
- NFTs – lists information on all NFTs you currently hold
- dApps – view and access all the currently available dApps
- Staking Rewards – stake your WAXP for use in the DPoS process
- WAX News – catch up with the latest WAX developments
- ETH Bridge and DeFi – participate in WAX tokenomics
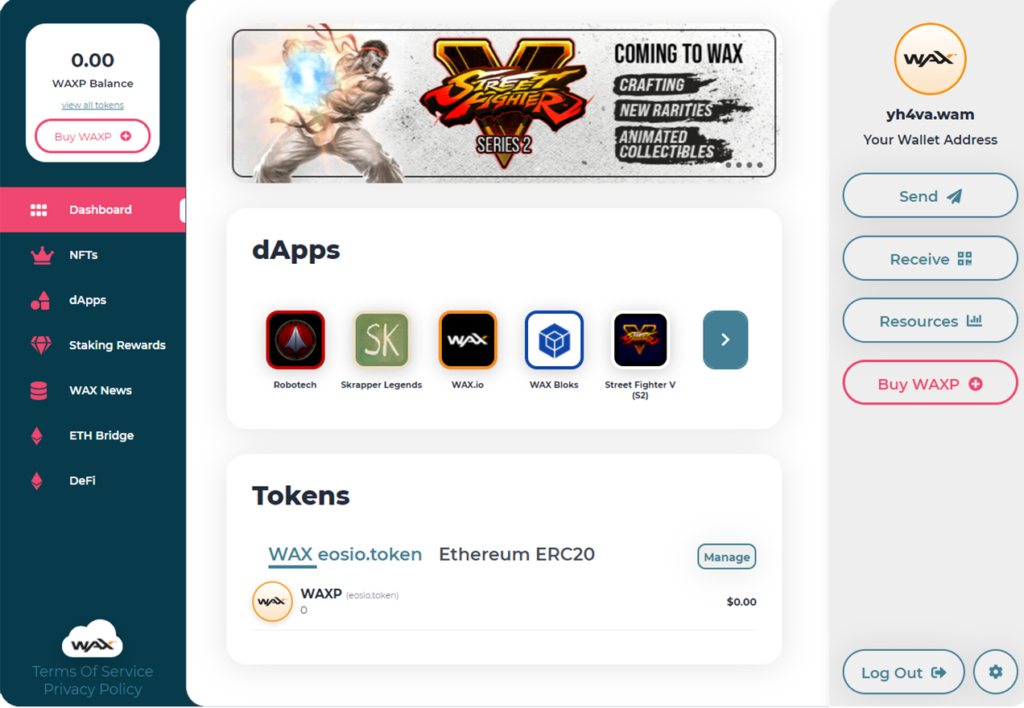
Your WAX Cloud Wallet also has options to send, receive, or purchase WAX Protocol Tokens, and you can allocate resources for staking.
Setup 2FA
Now that you’re familiar with the interface, we recommend securing your account fully with Two-Factor Authentication (2FA). 2FA is a multi-factor security system that uses an app to randomly generate and constantly refresh access codes. It’s important that you install the app on a device that you have exclusive and secure access to.
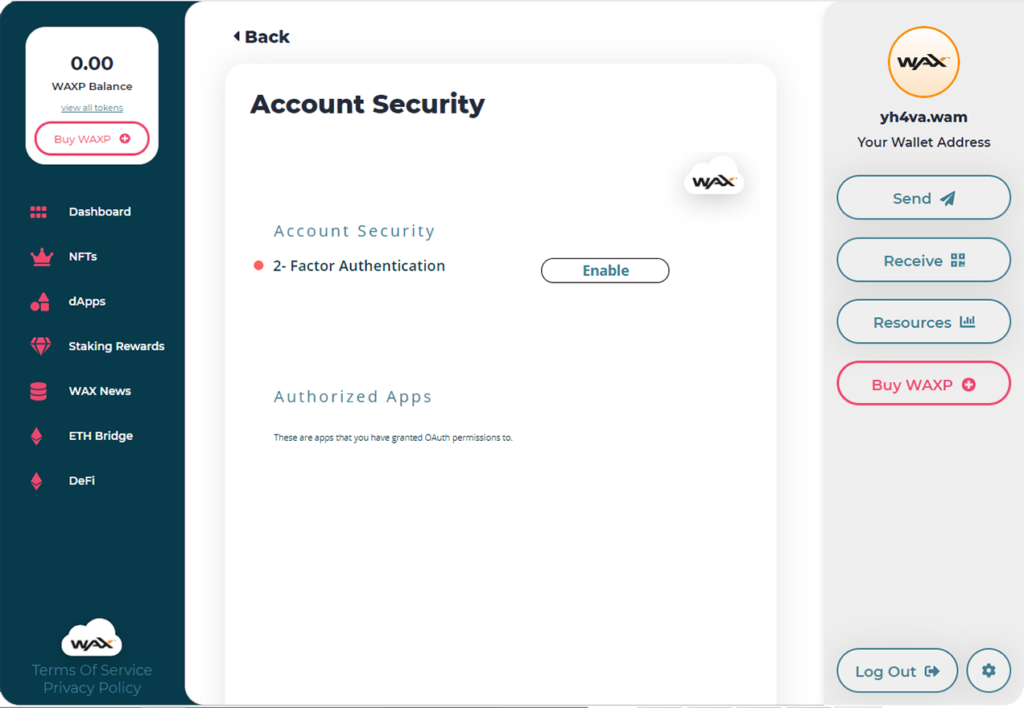
In order to enable 2FA go to:
Settings > Account Security > Two-Factor Authentication
Now click ‘enable’. You will receive a code to your registered email address. Enter it, and you will then see a QR code on the 2FA page. Use an authenticator app on your phone (i.e. Google Authenticator or Authy) to scan the QR code. Your authenticator app will now provide a code.
Enter the authenticator code into the WAX 2FA page, and your Two-Factor Authentication is complete.
Now each time you log in to your WAX account, you will need to check your authenticator app for a code. These codes are not reusable: your authenticator app will create new codes on an ongoing basis, so you will need to access it to generate a new code for each new session login.
Upon completing 2FA, you will be provided with a recovery code. Keep this code safe: if the device with your authenticator app installed on it is lost or stolen, you will need this recovery code to re-access your account. You will also need the recovery code if you want to disable 2FA on your account.
WAX Tokens
In order to use your wallet to trade NFTs, interact with dApps, or participate in WAX tokenomics, you will need to purchase WAXP.
How to buy tokens
You can add WAXP to your wallet directly from the WAX Cloud Wallet dashboard using a credit card, but this will incur the highest fees. WAX Cloud Wallet can also connect to external exchanges, including Bittrex and Kucoin. You will need an account on one of these exchanges, and the exact process varies depending on which exchange you choose. Please refer to instructions for how to purchase tokens on your chosen exchange.
After purchasing WAX Protocol Tokens on an external exchange, you can then withdraw them directly to your WAX Cloud Wallet using the associated WAX Account Name. You can find this Account Name by clicking ‘Receive’ on the WAX Cloud Wallet dashboard.
Using your tokens
Once you have WAX Protocol Tokens available on your account, you can use them to acquire NFTs or stake them to claim staking rewards, all of which can be done from the WAX Cloud Wallet dashboard.
You can also use the ETH Bridge and DeFi to exchange your WAX Protocol Tokens (WAXP) for WAX Economic Activity Tokens (WAXE), which can then be deposited alongside Ethereum into a WAX-ETHE Liquidity Pool and will yield rewards of Uniswap V2 Liquidity Pool Tokens.
Linking to a hardware wallet
WAX Cloud Wallet can link to hardware wallets such as Scatter. By linking a hardware wallet, you can use WAX Protocol Tokens stored in it to earn staking rewards. Simply use your hardware wallet to generate an EOSIO public key, then on the WAX dashboard navigate to:
Settings > Wallet Settings > Create WAX Account
You will need to create a new WAX account to link to an external wallet, and there will be a small WAX Protocol Token cost to do so. Input the public key you generated, and then confirm that your hardware wallet is showing the correct WAX Account Name. You’re now ready to stake WAX Protocol Tokens with your hardware wallet.
Linking to a multichain wallet
You can also connect your WAX Cloud Wallet to a multichain wallet such as Pillar. Multichain wallets allow you to consolidate addresses of compatible wallets into a single interface for ease of use when interacting with multiple blockchains. All assets associated with WAX can be integrated with a number of multichain wallets, including Pillar and Math Wallet.
Next Steps
Now that your WAX Cloud Wallet is live, you’re ready to interact with our primary and secondary marketplaces. A primary marketplace is exclusive to a specific product or products, whereas a secondary marketplace is a peer-to-peer marketplace that covers a wide range of collectibles.
There are a variety of ways you can add NFTs to your WAX account. They can be acquired from playing games or using dApps, they can be purchased through a primary or secondary marketplace, and they can be traded with other users.
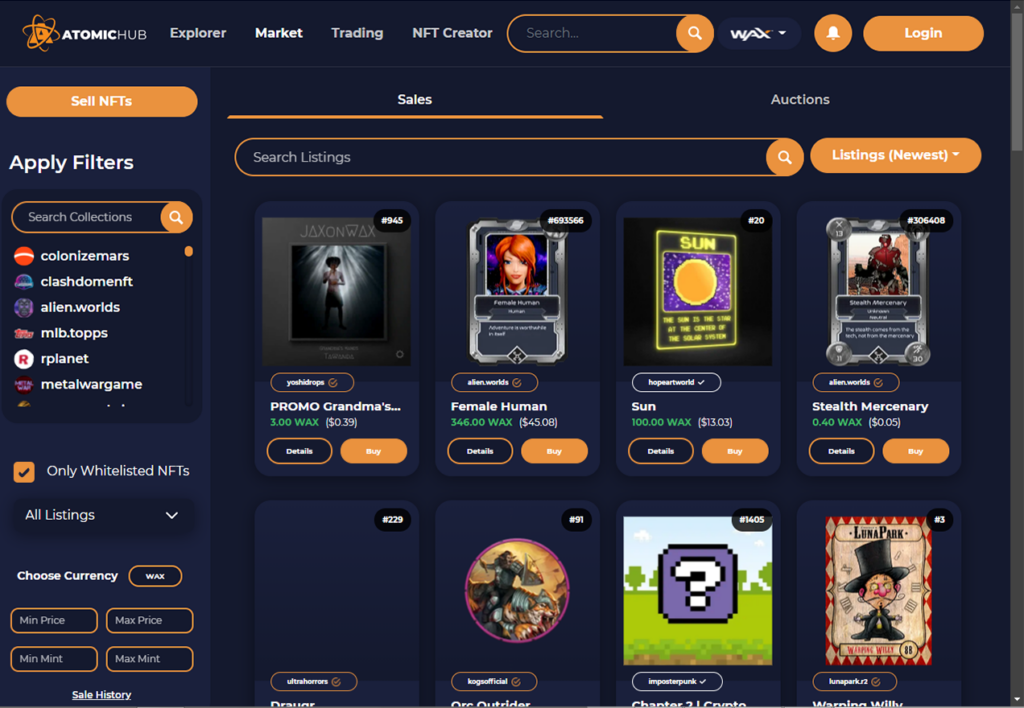
The top marketplace for purchasing NFTs with WAX is the AtomicHub, which enables you to log in with your WAX Cloud Wallet and seamlessly use your WAX Protocol Tokens to buy any NFT they have.
Alternative secondary marketplaces for exchanging WAX assets include GPK Maret and SimpleMarket. Bear in mind that different fees will apply depending on the marketplace.
Now that you’re all set up, you’re ready to start trading NFTs and staking WAX Protocol Tokens. If you’d like to go further, you can learn how to create your own NFTs to trade or sell.
Further Resources
‘A WAX NFT Beginner’s Guide’ – EOS Go
‘How to Create a Wax Wallet’ – WAX Guide
‘Introduction to the WAX Cloud Wallet’ – EOS Nation
‘The Complete Guide To The WAX Cloud Wallet In 2021’ – EOS Amsterdam